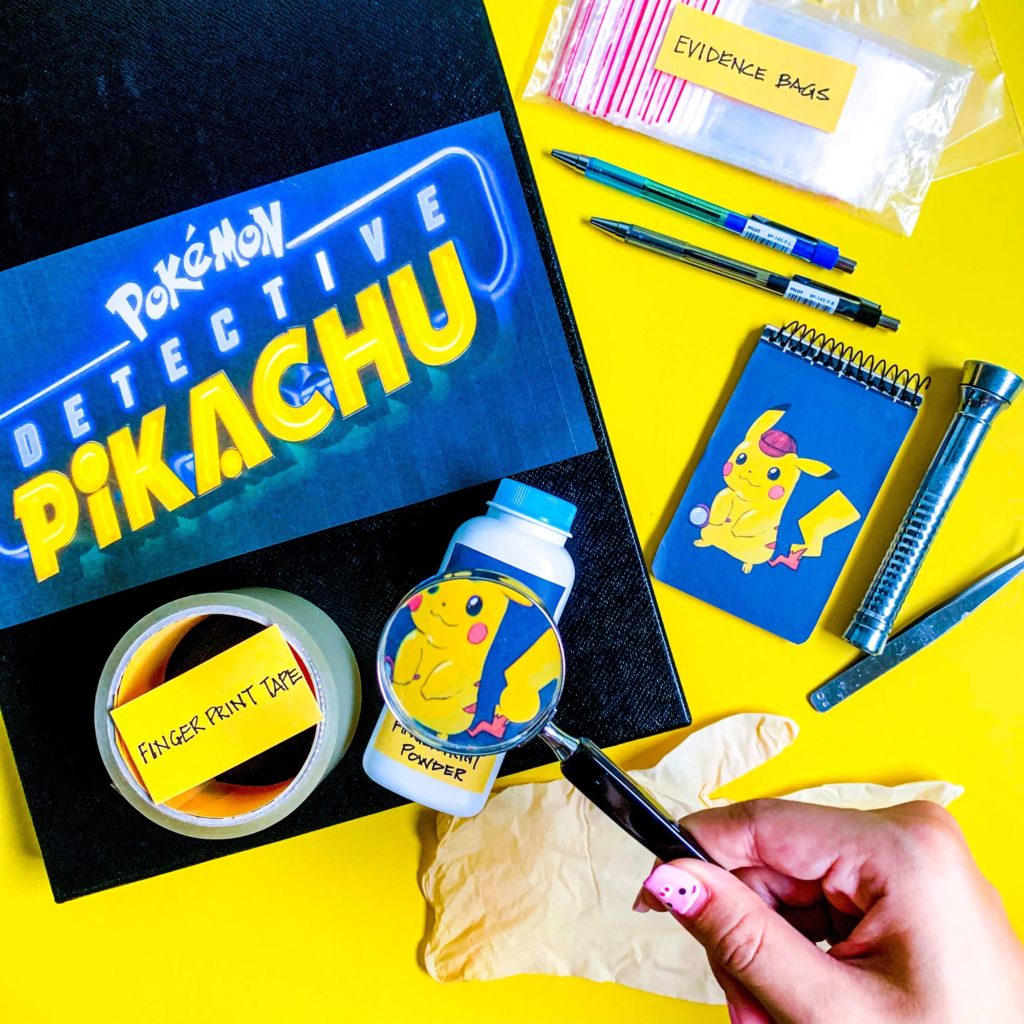
Make your own Detective Pikachu DIY case out of things around the house!
I have a confession: I play Pokemon Go. With my husband. We are very familiar with all the Pokemons and jumped on the chance to create a Detective Pikachu DIY activity!
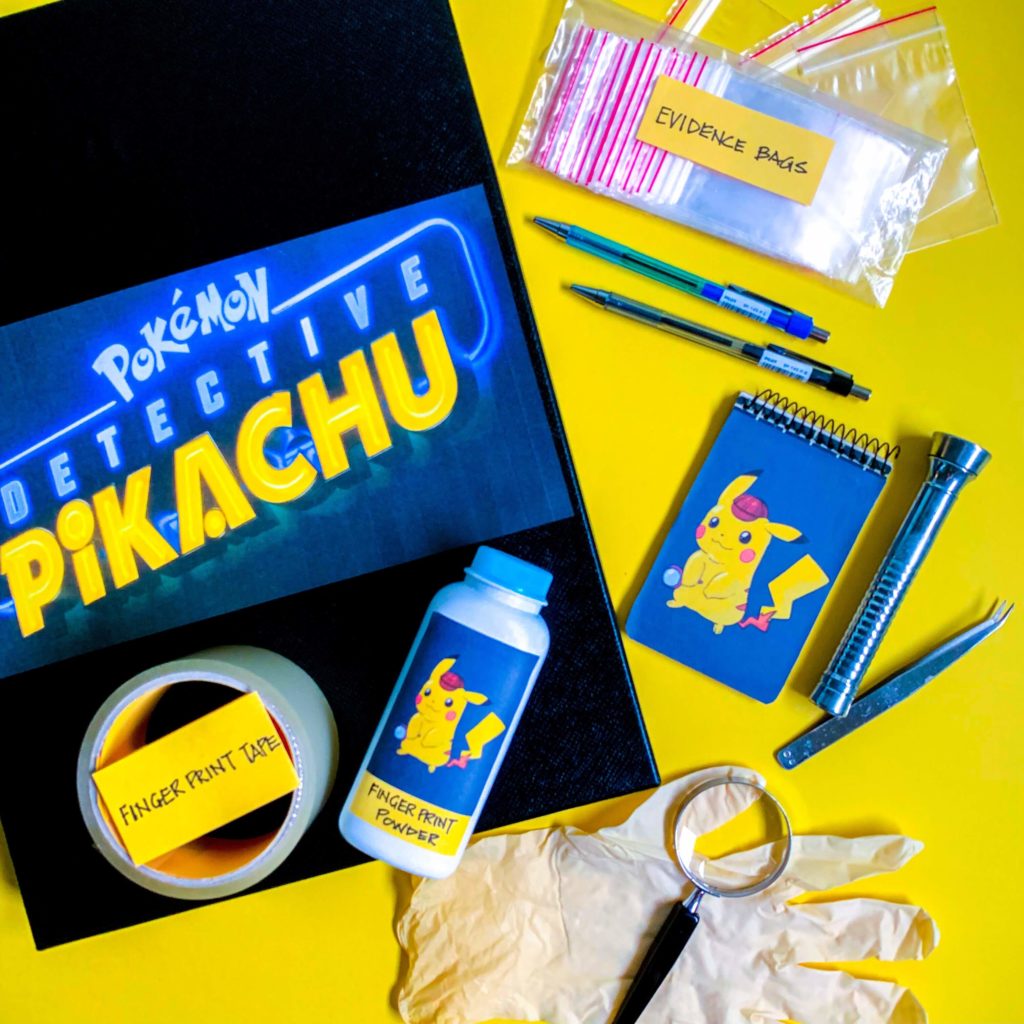
Since I’m a movie & novel mystery fan, we decided to channel our inner Sherlock and make a Detective Pikachu DIY starter’s kit. Most of these things can be found around the house or at a Daiso near you!

Materials for Detective Pikachu DIY Case:
- A large box with cover or an existing briefcase
- Cereal box x 1
- Black elastic bands (0.5cm width)
- Small bottle of dusting/baby powder (about 100g size) x 1
- Magnifying glass x 1
- Tweezer x 1
- Small ziplock bags
- Clear masking tape
- Surgical gloves x 1 pair
- Pens/markers
- Notebook x 1
- Torchlight x 1
- Penknife / scissors
- Glue
- Pencil/pen/marker

Directions:
- Cut small strips of paper as labels for the all the items. Get your child involved in this, so they can learn how to spell and write these items!
- Paste the labels onto or just below each item.
- For the notebook and dusting powder: Cut and paste the printouts over the notebook’s cover and front of the bottle.

(Optional) Directions to make the Pikachu Box (for older children)
- Open up the cereal box, taking care not to tear or cut away any of the flaps. You will need them to form the box again, just inside out.
- Lay the cereal box flat with the inside facing you.
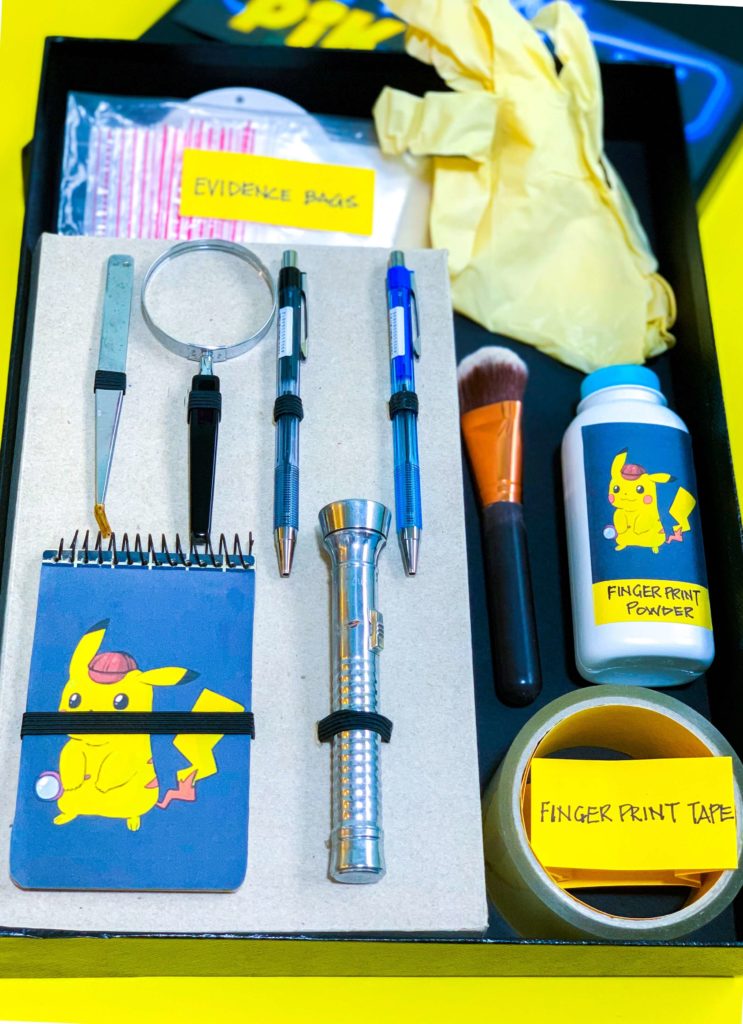
- Place the items on the largest panel and position them as preferred. Don’t worry, there is no fixed sequence.
- Mark short lines at the edges of each item with a pencil. These will becomes slits to loop the elastic band.
(Pro tip: Position your items along the same level for a neater look.) - Cut a piece of elastic band and push gently through each slit, making a small loop at the surface.
(Pro tip: Loop the band over the item you are securing and pull tight. It’s elastic, so the item won’t fall out.) - Secure the band on the underside with glue and/or tape.
- Repeat for each item.
- Form up the cereal box by glueing the flaps – the inside of the box is now the outside.
- Slot in the items to the elastic loops according to your desired placement.
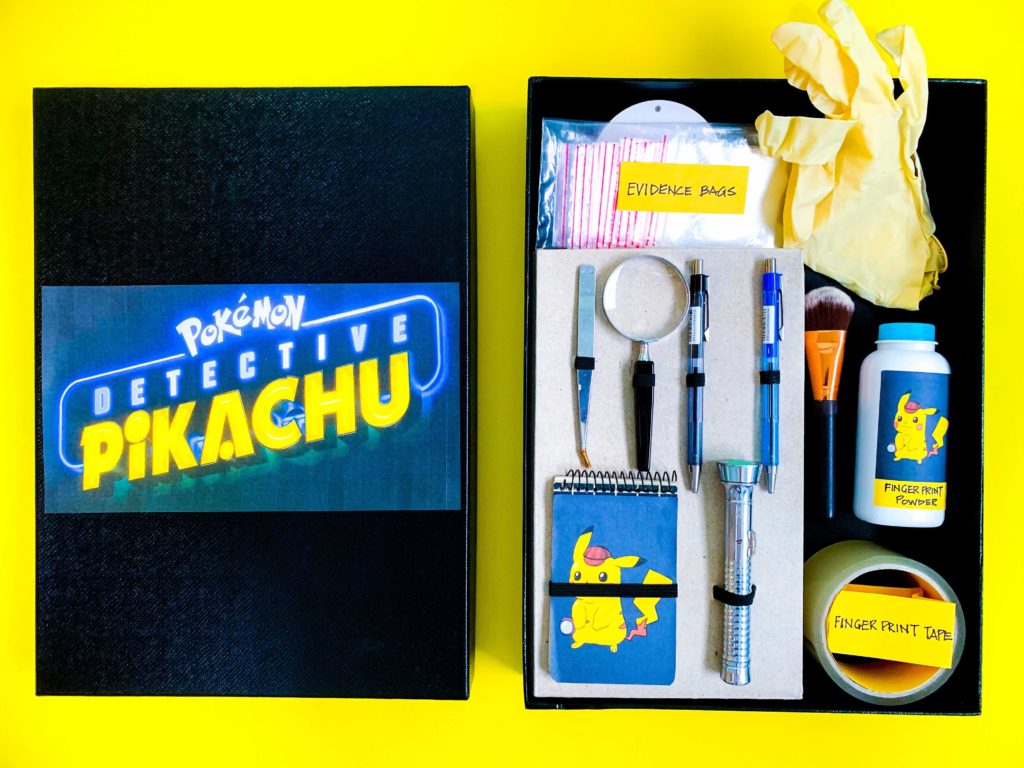
- Place all the nested and other items in the larger box/briefcase.

There you have it, your very own Detective Pikachu DIY set! You’re all ready to solve the case with Detective Pikachu!
You can create your own mysteries to investigate. How about the case of the missing cookies? Or the case of the vanishing mother (clue: she was taking a nap)?
We would love to see what you’ve filled your Detective Pikachu DIY case with! Tag us at @PositiveLeePeilin on Facebook or Instagram or use the hashtag #PositiveLeeDIY.
Bonus: Love making crafts with your child? Make your own flying Avengers or flappy ear Dumbo elephant in these step-by-step tutorials!


