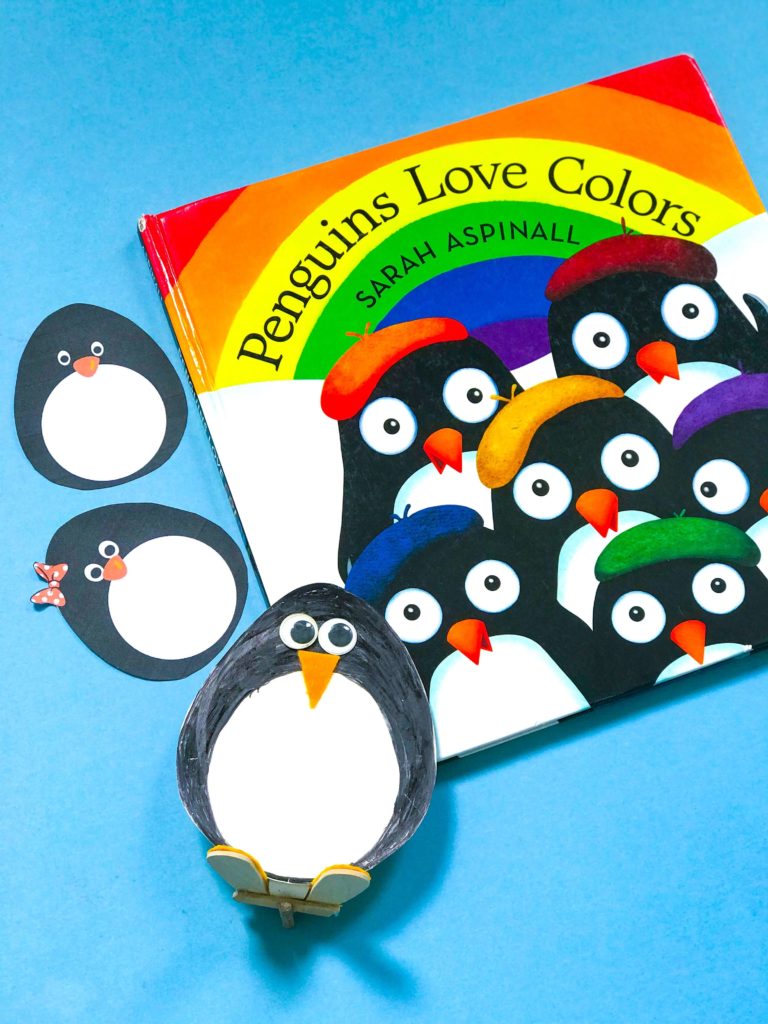
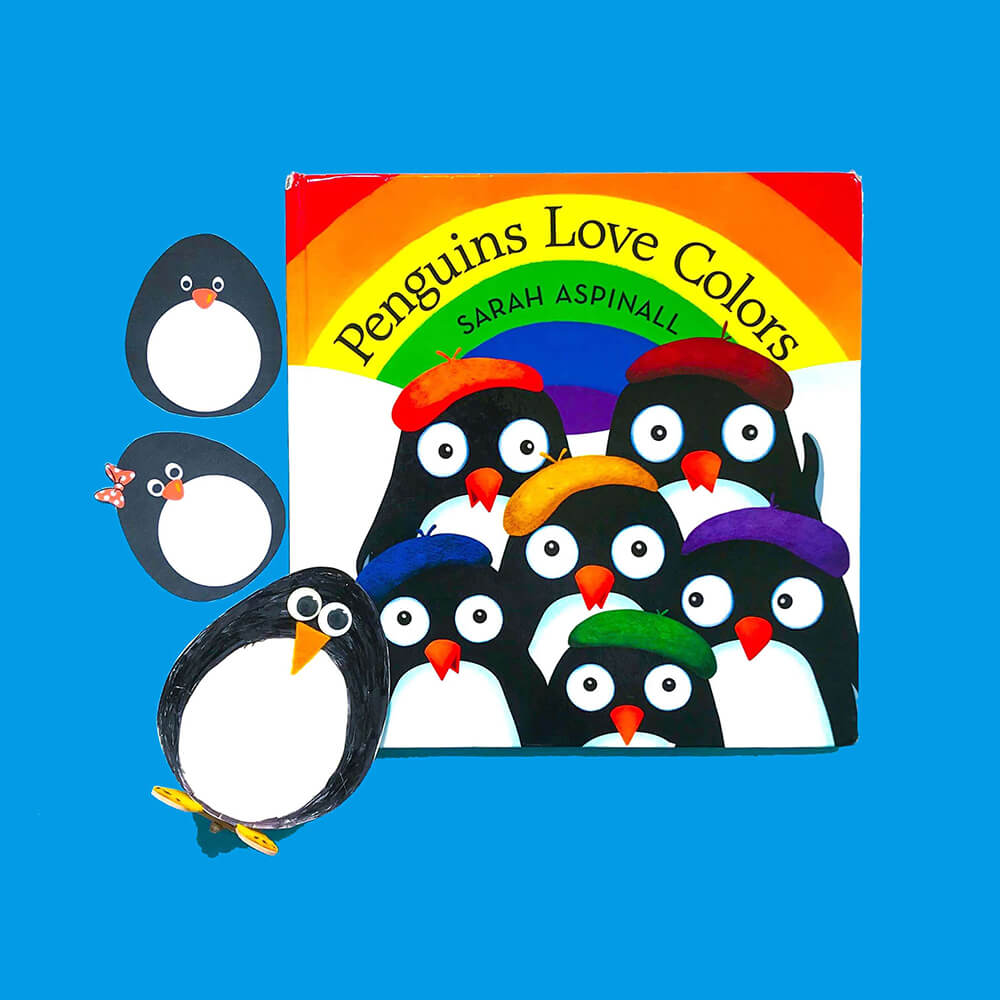
Make your own penguin out of ice-cream sticks & cardboard!
We are especially thrilled with this DIY penguin craft, which my husband thought of whilst watching a nature documentary whilst snacking on ice-cream!
We were fascinated to learn that penguins don’t have teeth, but have backward-facing spines that line the inside of their mouths instead. These help guide fishy meals down their throats.
To support Penguin Awareness Day (20 January) and World Penguin Day (25 April), you can make your own DIY craft penguin that can actually waddle to create a fun army of happy feet!
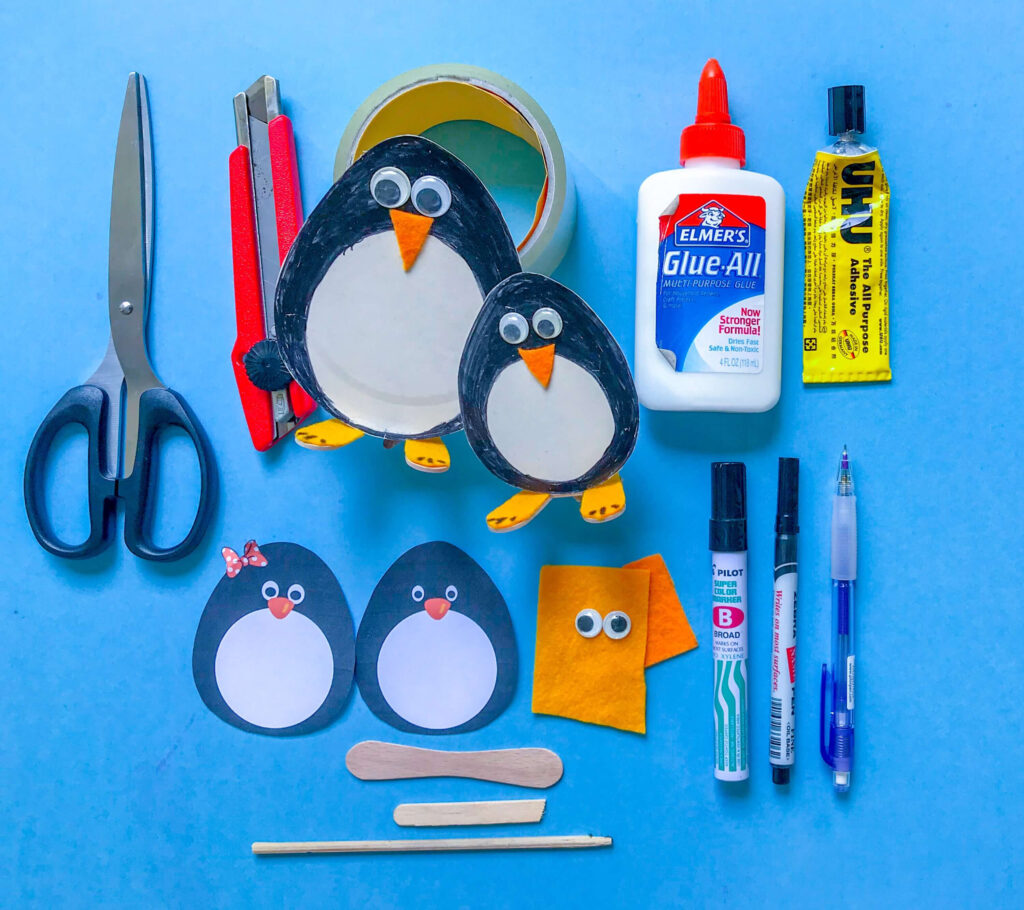
Materials to make this Penguin DIY craft:
- PositiveLeePeilin penguin printable
- Plain paper plate
- Googly eyes x 2
- Coloured felt material (orange or yellow)
- 2 ice cream sticks, preferably one with rounded wider ends, like a Magnum ice cream stick
- Small round stick, like a satay stick
- Strip of art card
- Penknife / scissors
- Glue
- Pencil / marker
Directions:
- Download the free PositiveLeePeilin printable here.
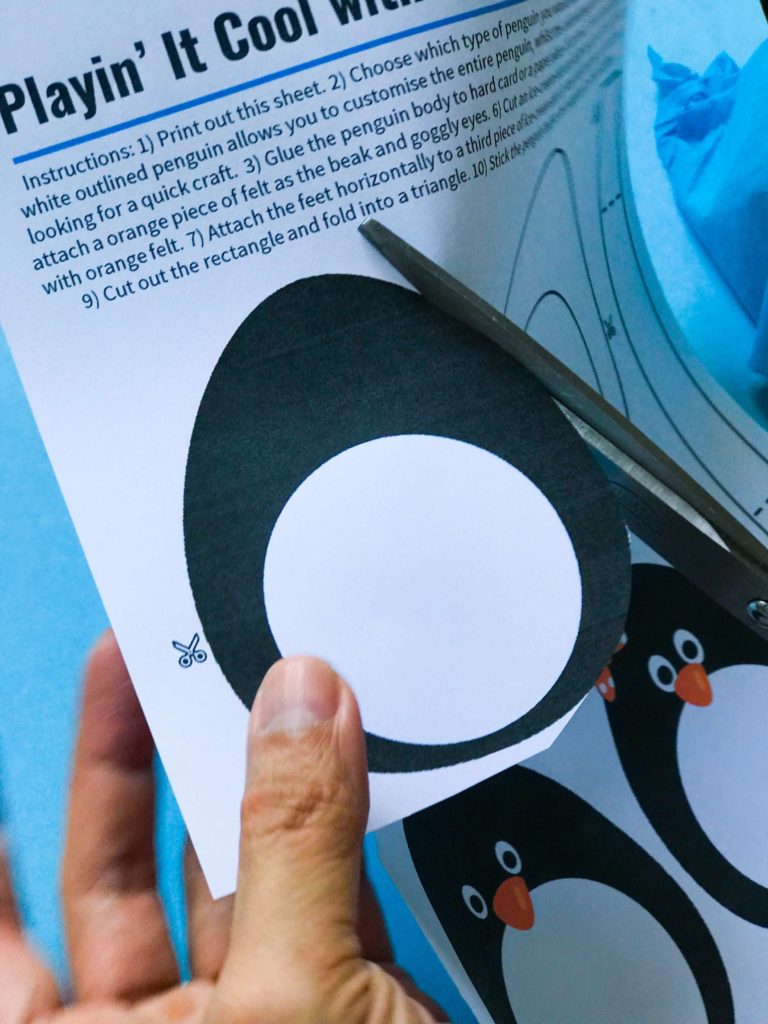
- Print this out. You’ve the option to print this in colour or black outline.
If you’re choosing to use the outline version, then cut along the outer line and trace this onto the paper plate. - Do the same for the centre white round portion of the body.
(Quick tip: cut out the circle from the print out and trace both inner and outer edges onto the paper plate at one go.)
Making the Penguin Body:
4. Colour the outer body with a black marker, leaving the inner circle untouched.
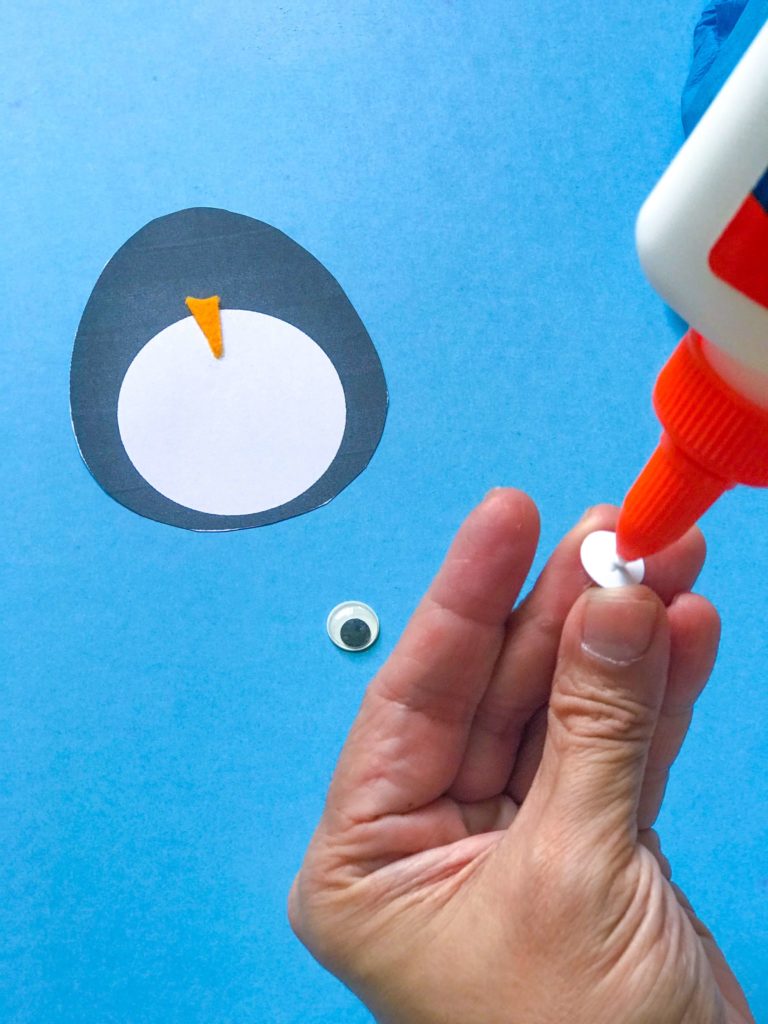
5. Paste on the two googly eyes, remembering to leave some space for the beak.
6. Cut a small triangle of felt material and paste it below the eyes.
7. Cut out the penguin’s body from the paper plate.
Making the Penguin Feet:
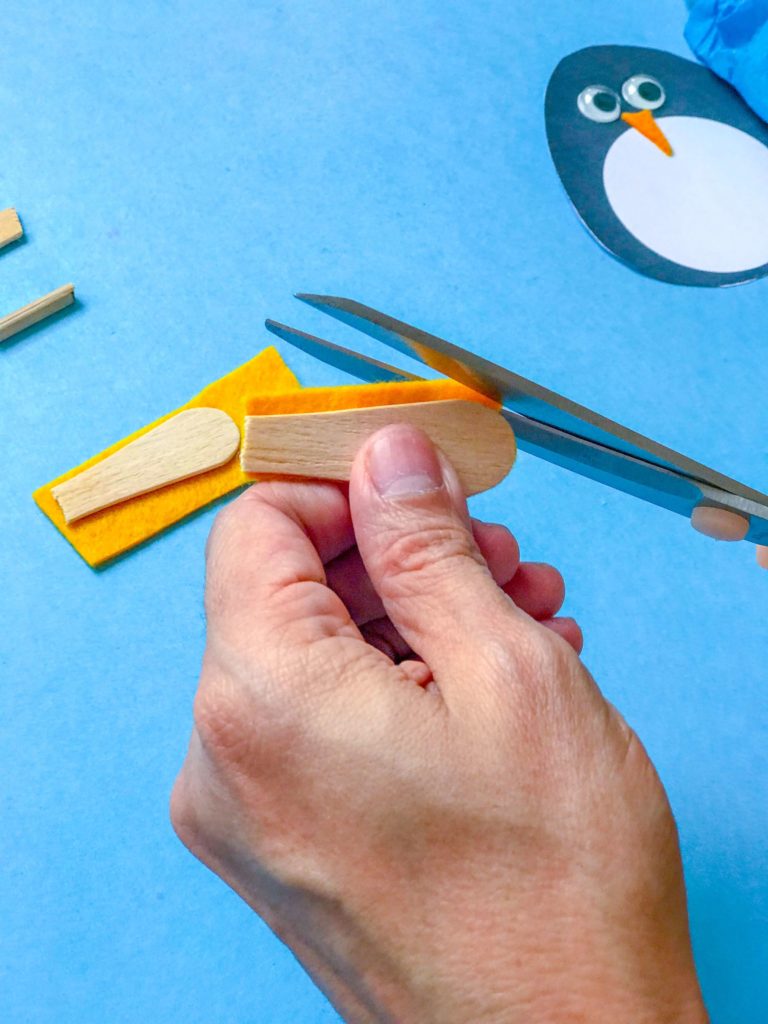
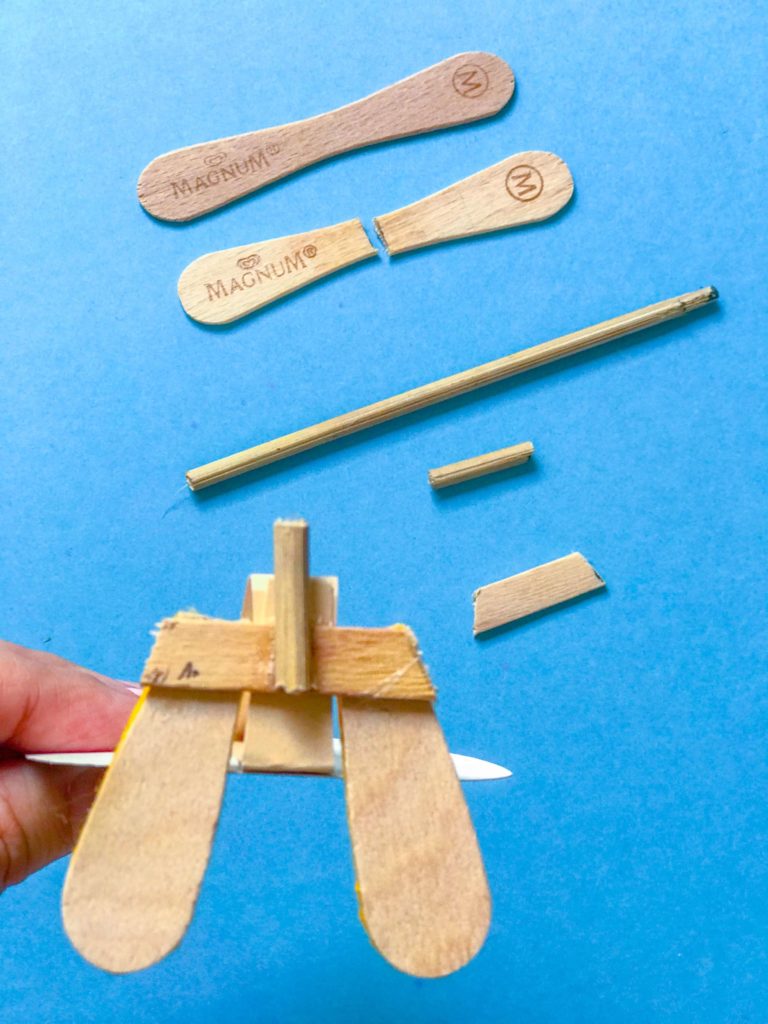
8. Cut ice cream stick in half.
9. Stick felt material to one surface of each half. Trim of any excess. These will be the penguin’s feet.
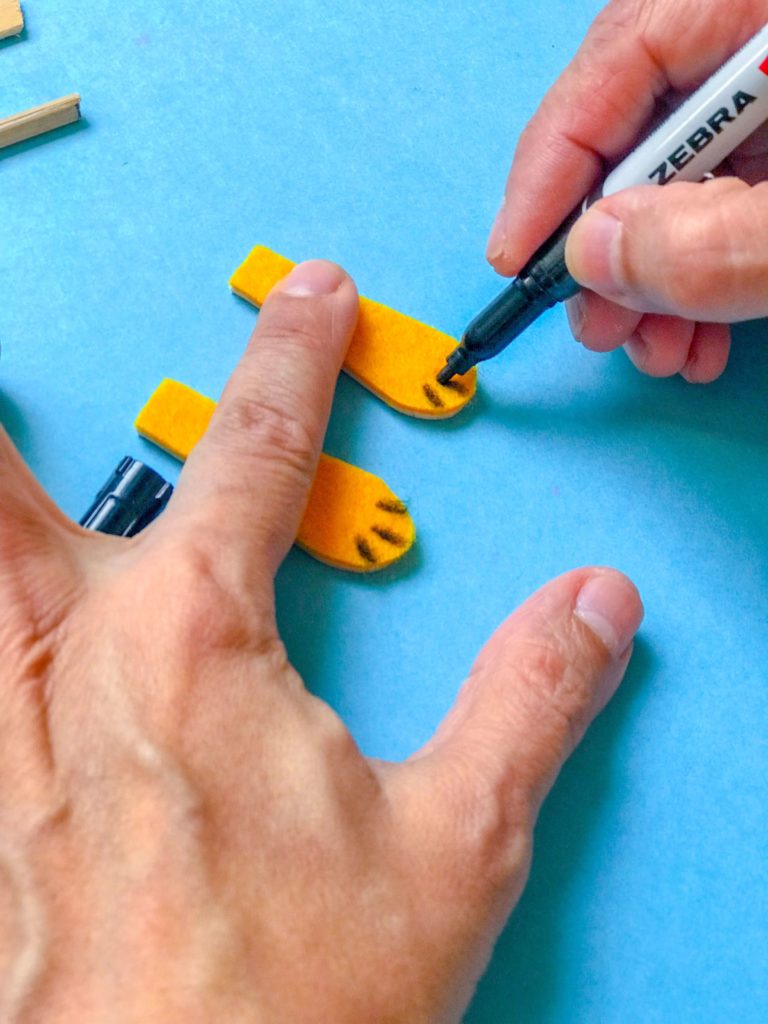
10. With a sharp nip black marker draw 3 short lines on each foot. These are their nails.
11. Place feet with the front slightly further apart than the back, forming an unjoined ‘V’.
12. Once you’re happy with the angle of the feet, place the other (regular/straight) ice cream stick across the the back of feet and cut the stick to this length. This forms the cross-sectional bar.
13. Glue this cross-section bar under the back portion of the feet (the surface without felt material).
14. Cut a short section of the round satay/chopstick (about 2.5cm is fine).
15. Glue this round stick under and in the middle of the cross sectional bar. This will form the basis of the waddle. (Imagine this as the centre of a see-saw.)
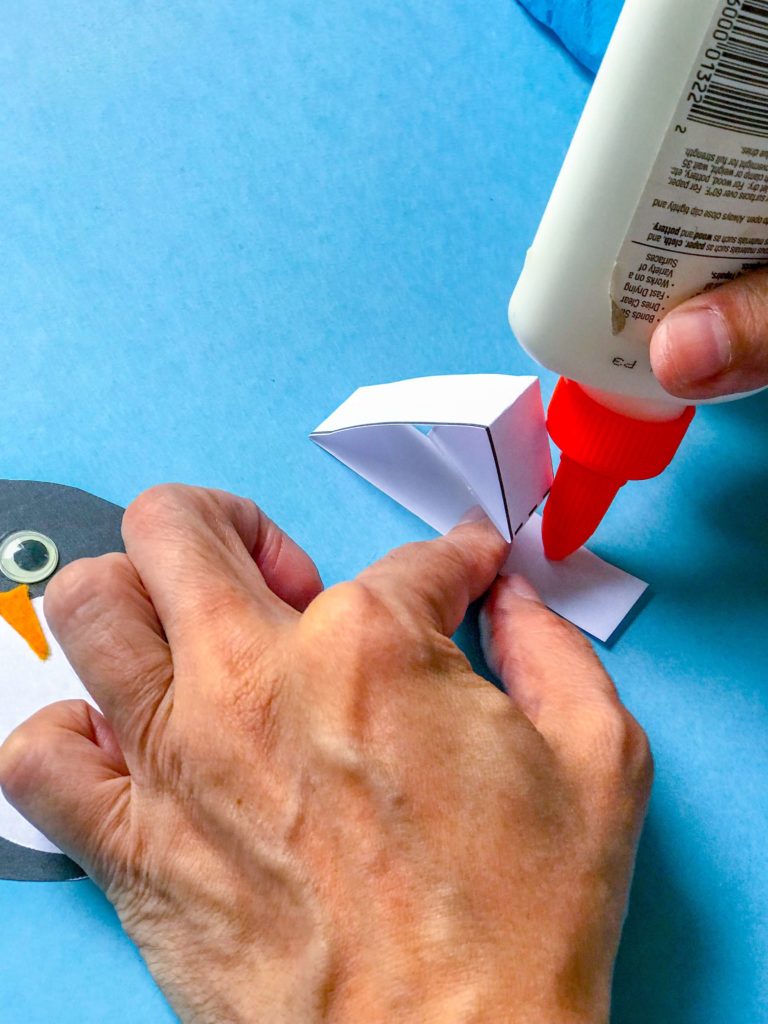
16. Cut the artcard strip and fold at points to form a triangle. Remember to include a small section to fold and overlap.
17. Glue this triangle strip to the back of the penguin making the short base is flushed with the bottom of the penguin.
18. Glue the short base of the strip to the cross sectional bar – trim the strip on both edges to fit into the space between the back of each foot.
Now you can make your penguin waddle along!
Super easy with this free penguin printable and stuff around the house.
