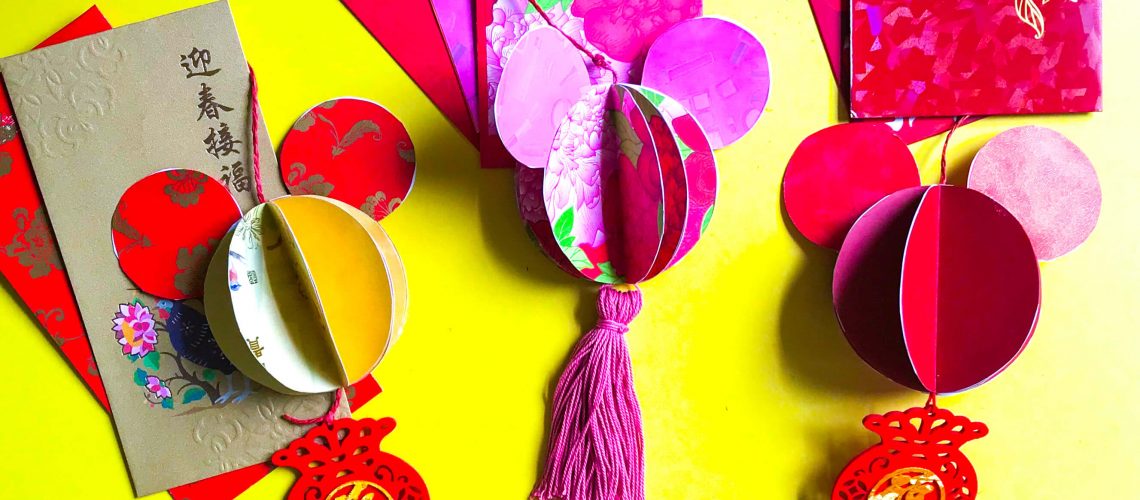
Swinging in the Year of the Rat!
We’ve been thinking extra hard about what Chinese New Year decoration to make using things around the house, especially with unused ang pows! The Eureka moment: Realising these money packets can be opened and used as patterned paper! Let’s usher in the year of the rat by recycling with this simple mouse ornament CNY DIY!
Clearly, the most famous rat in the world is Mickey Mouse, so a tribute to him is in order. I haven’t seen an oriental CNY DIY craft that is Disney inspired yet, so maybe this is a world’s first!
Here’s how you and your child can make her own Mickey CNY DIY ornament. I’ve got video snippets on my Instagram page as well (because videos can be easier to understand sometimes!)
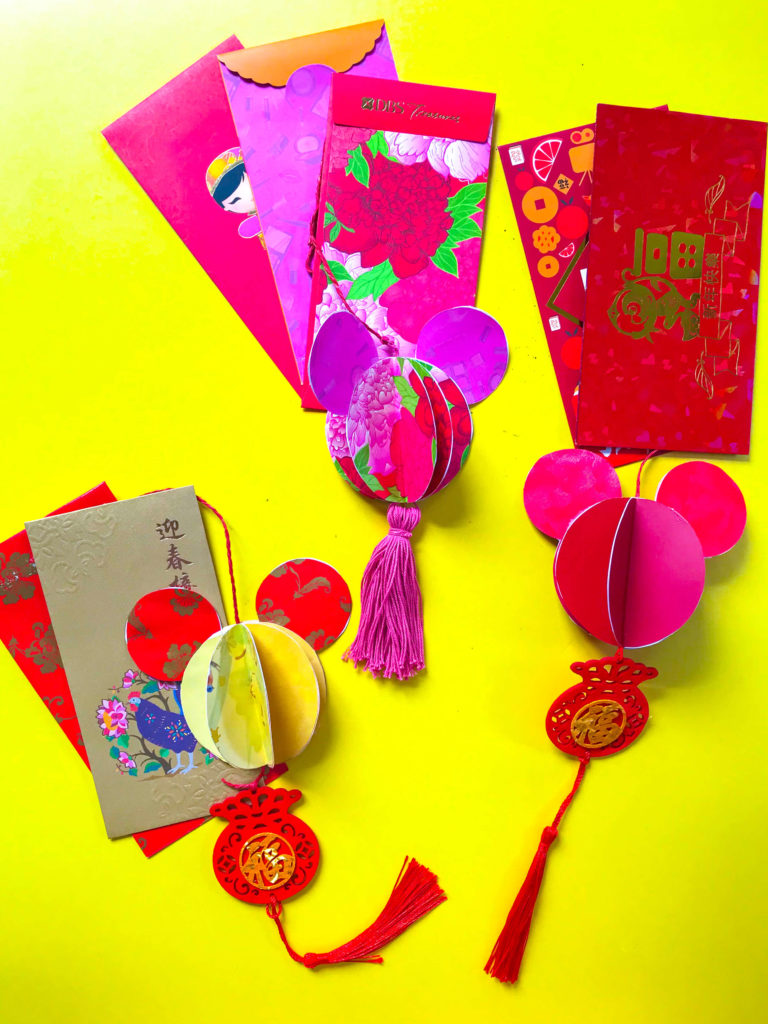
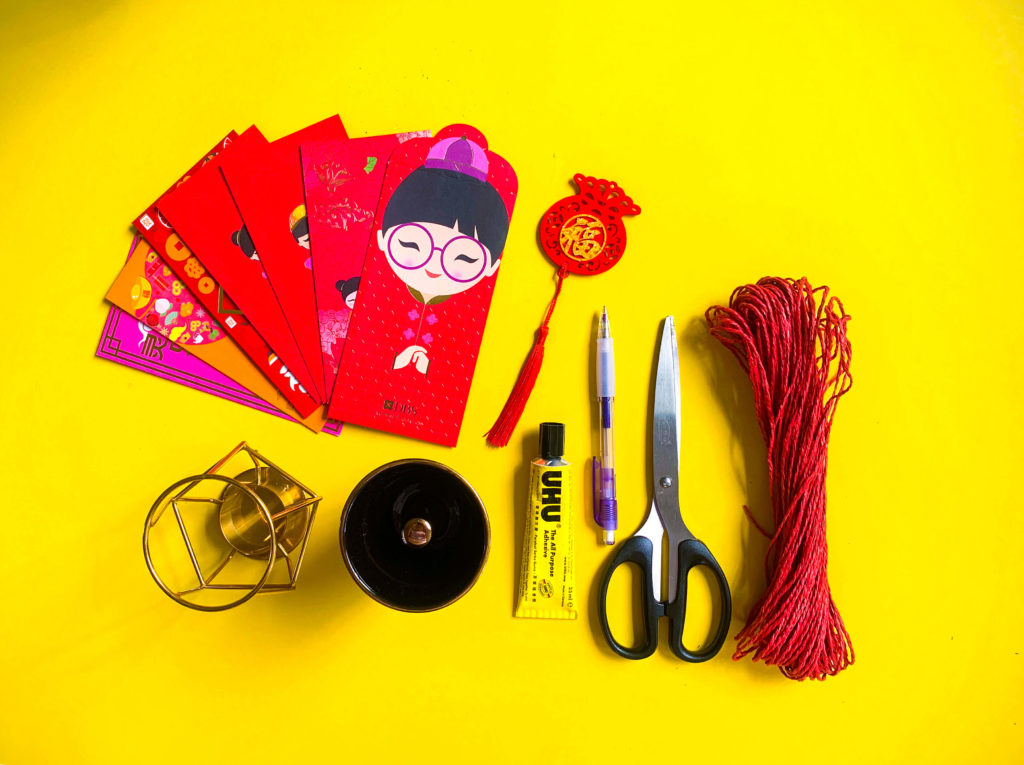
Materials for Mickey Mouse CNY DIY ornament:
- 2 round objects to trace Mickey’s head and ears, size ratio approximately 5 : 3
- Ang pow envelopes
- Pencil
- Scissors or penknife
- Paper glue
- Tassel (or learn to make them here)
- Red string or twine
Directions:
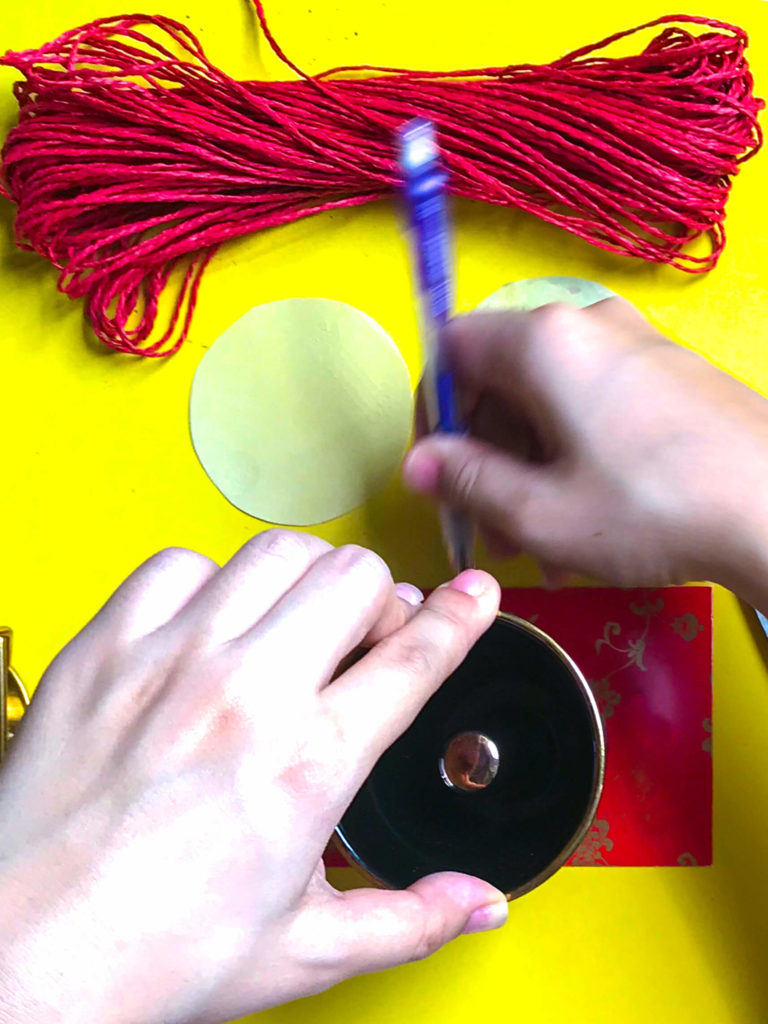
- Trace the large and smaller circles on the ang pow envelopes, using a cup or any round object.
Pro tip: You can cut open the envelopes at the joining edges to open them up so that they are a larger surface to trace the circles. This will make seeing your traced circles easier as you can trace on the unprinted white side. - Trace eight large circles and four small ones. For variety, you can choose different colors for the large and small circles, or even alternate the colors of the large circles (the body).
- Cut out the circles. Follow the pencil lines as closely as these circles will be pressed together to form the head.
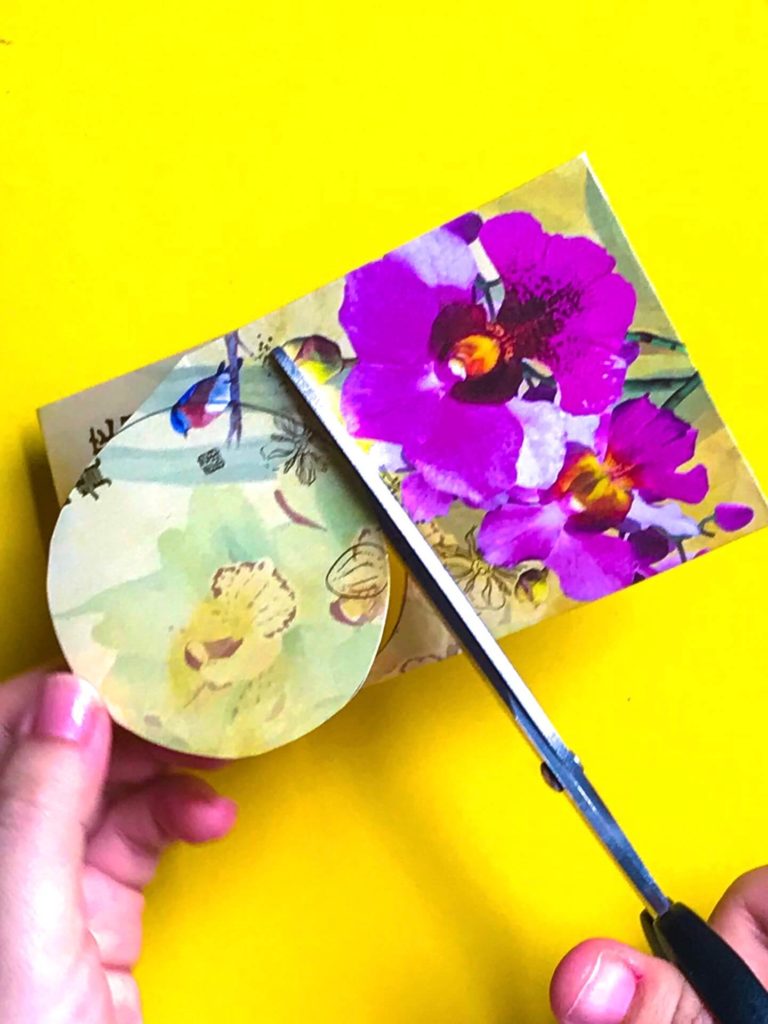
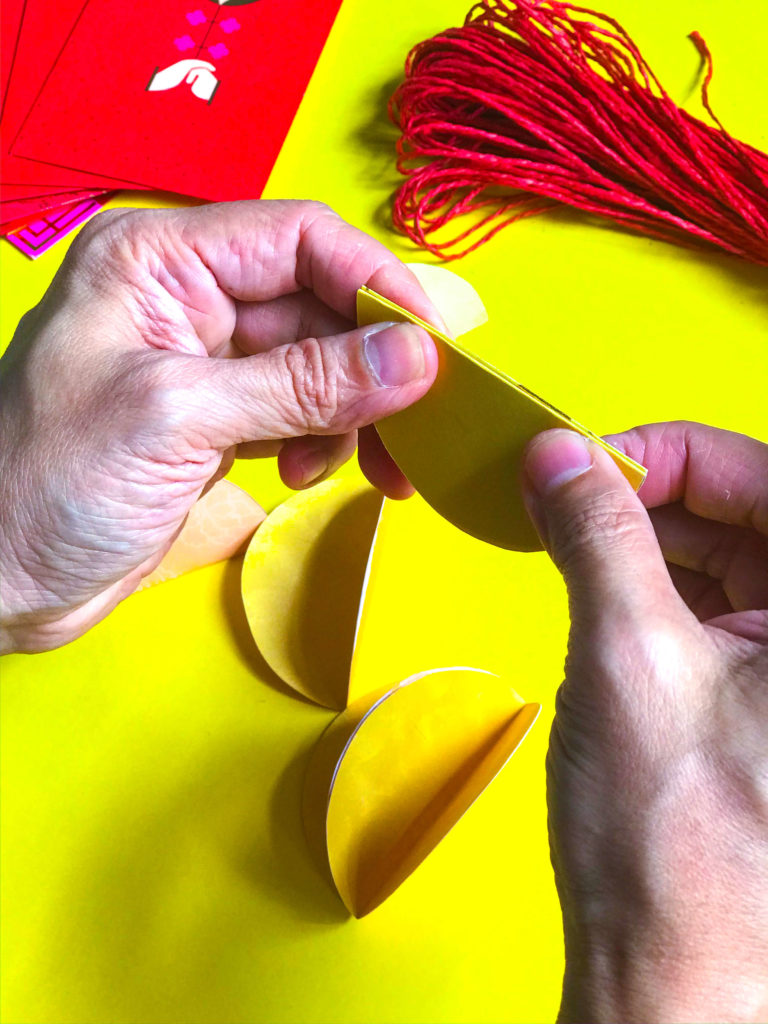
4. Fold each of the eight large circles in half.
Important: Fold them with the colored size facing in and the white/inside surface facing out.
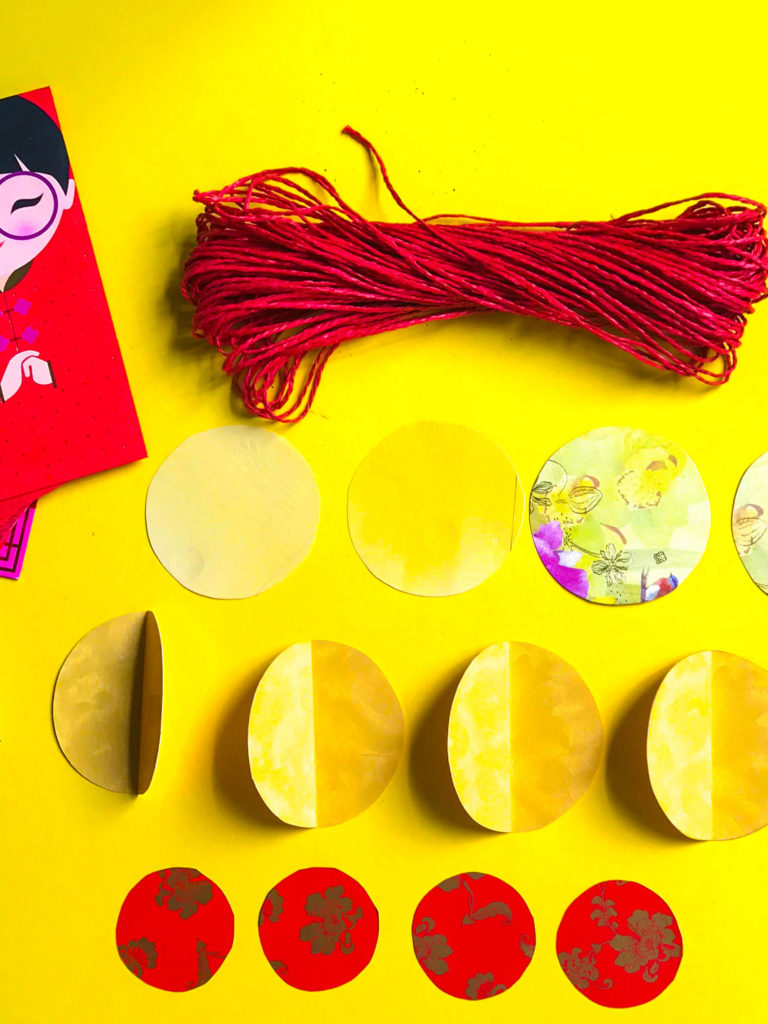
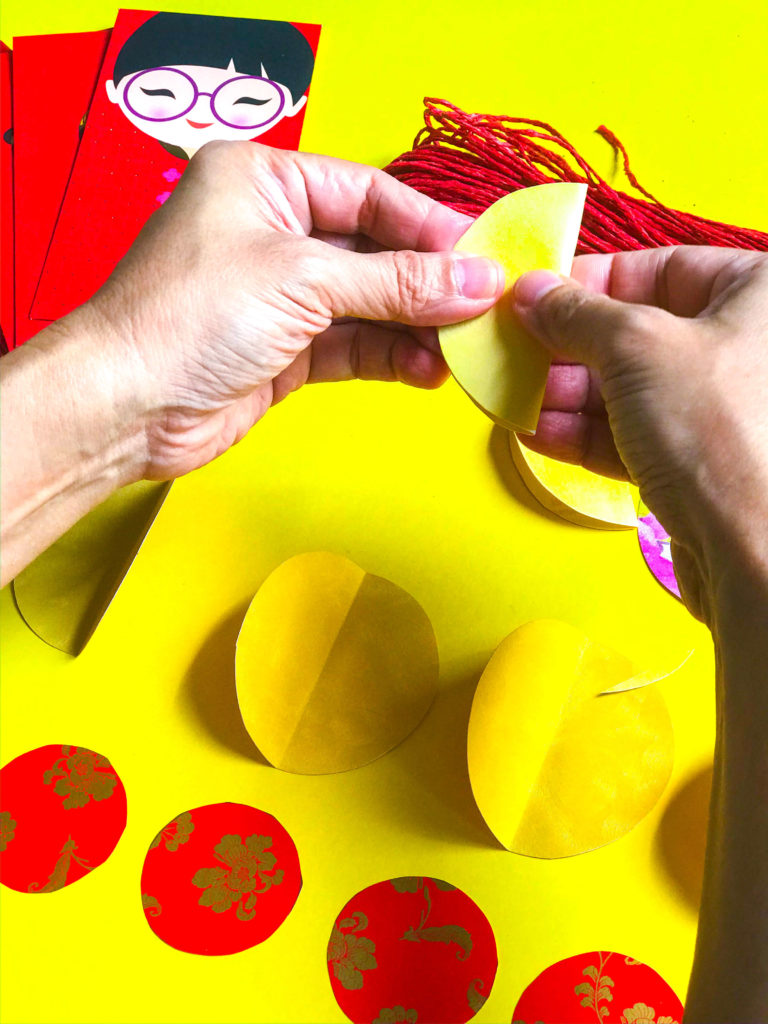
5. Apply a thin coat of paper glue to half of one circle and paste to a half of another circle. Stick them neatly so they match and look like one semi-circle shape.
Pro tip: To help keep track of which surface to paste to which and avoid applying glue before you are ready to paste two sides together, number each of the half circles 1 through 16. You can then paste-by-numbers, with 2 stuck to 3, 4 stuck to 5 and so on. This is helpful if you intend to have alternating colours making up Mickey’s head.
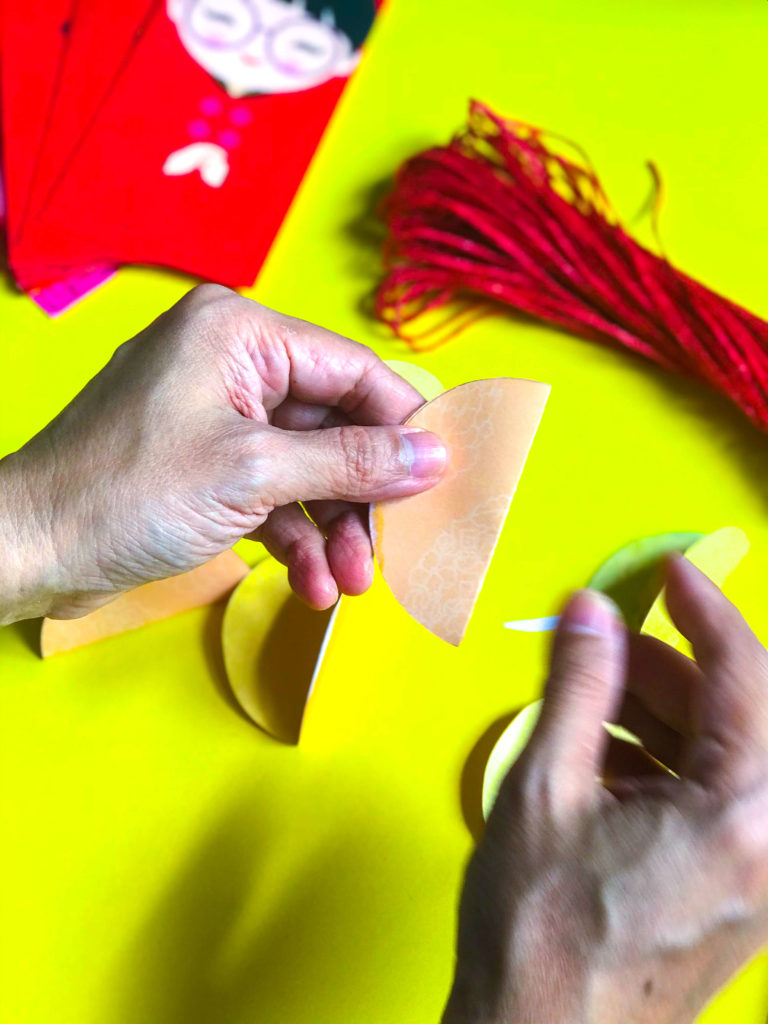
6. Paste the first four semi-circles together, then the second set of four semi-circles.
Important: Do not paste the two halves together yet. Put them aside as two stacks of semi-circles for now.
Making Mickey Mouse's ears:
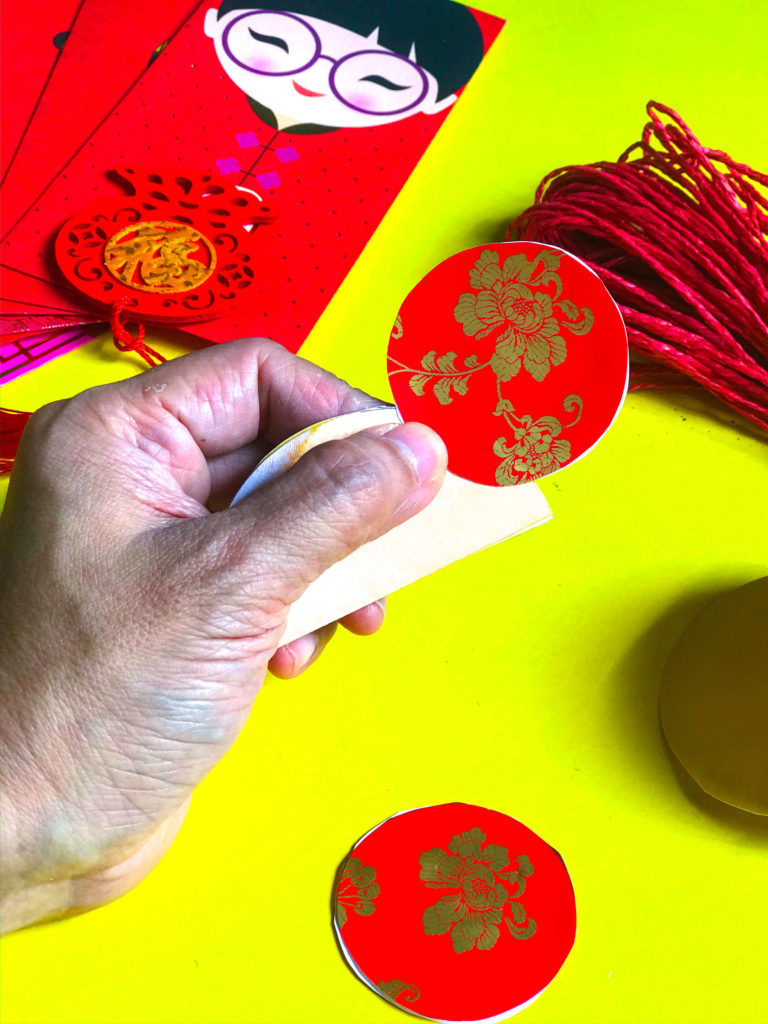
7. Paste two of the smaller circles together. Paste the inner white surfaces together so the ears have the coloured surface facing outwards. Repeat for the other two circles.
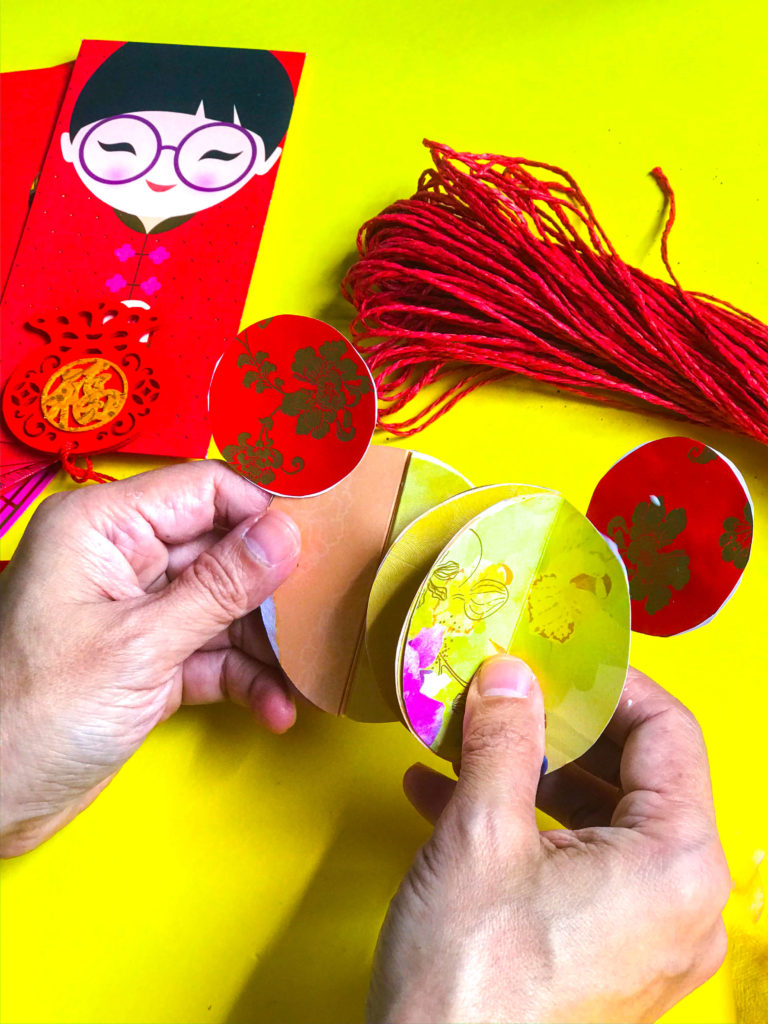
8. Stick the one ear roughly at the 2 o’clock position of one semi-circle (body), and the other ear at the 11 o’clock mark of the other semi-circle
Pro tip: To get the same positions to be symmetrical, take the second semi-circle and place it exactly over the first. Now, on the top surface of the second semi-circle, paste the other ear and position it to match the first ear.
9. Once the ears have set, paste one side together such that they now form a single, taller semi-circle stack.
Important: Do not paste the two sides together yet.
Finishing Touches
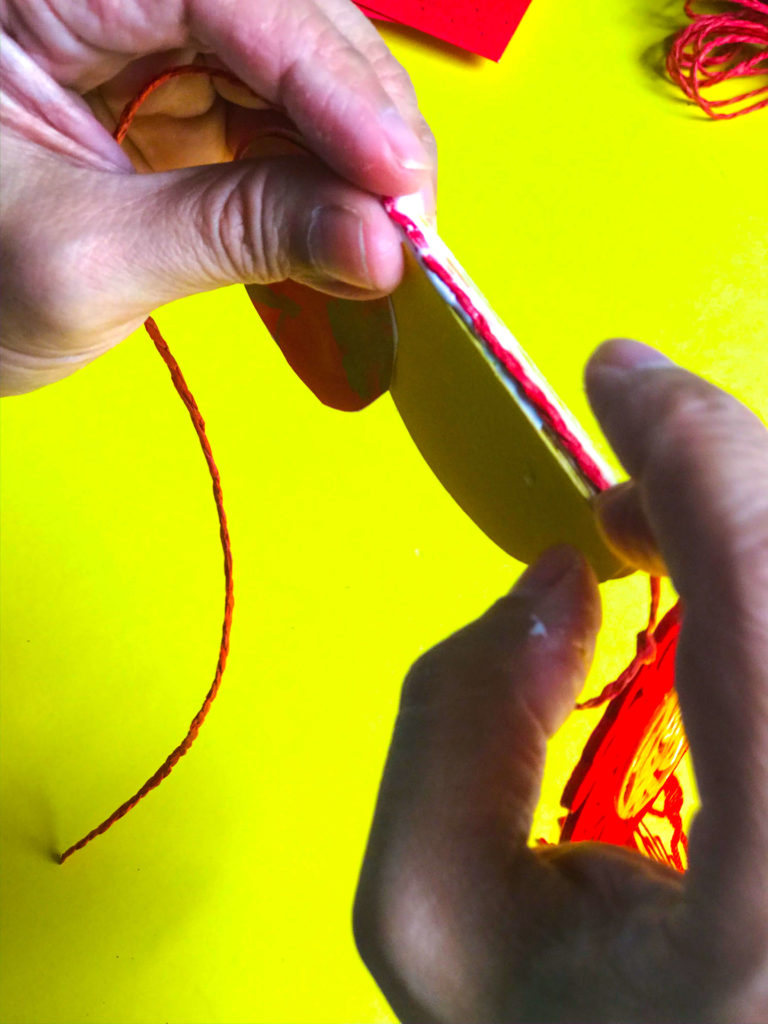
10. Cut a length of red string long enough to tie the bottom end to the hanging tassel and the top extending beyond Mickey’s head and ears.
11. Apply glue along the spine and lay the string against it. Then gently bring the two unglued flaps together to form a full circle, now with the string in the center or core.
12. Press the middle of the circle to help the string set.
13. Once the center and string dry, apply glue on the remaining paper flap and paste to close the circle (if you’d numbered them, stick flap 16 to flap 1.)
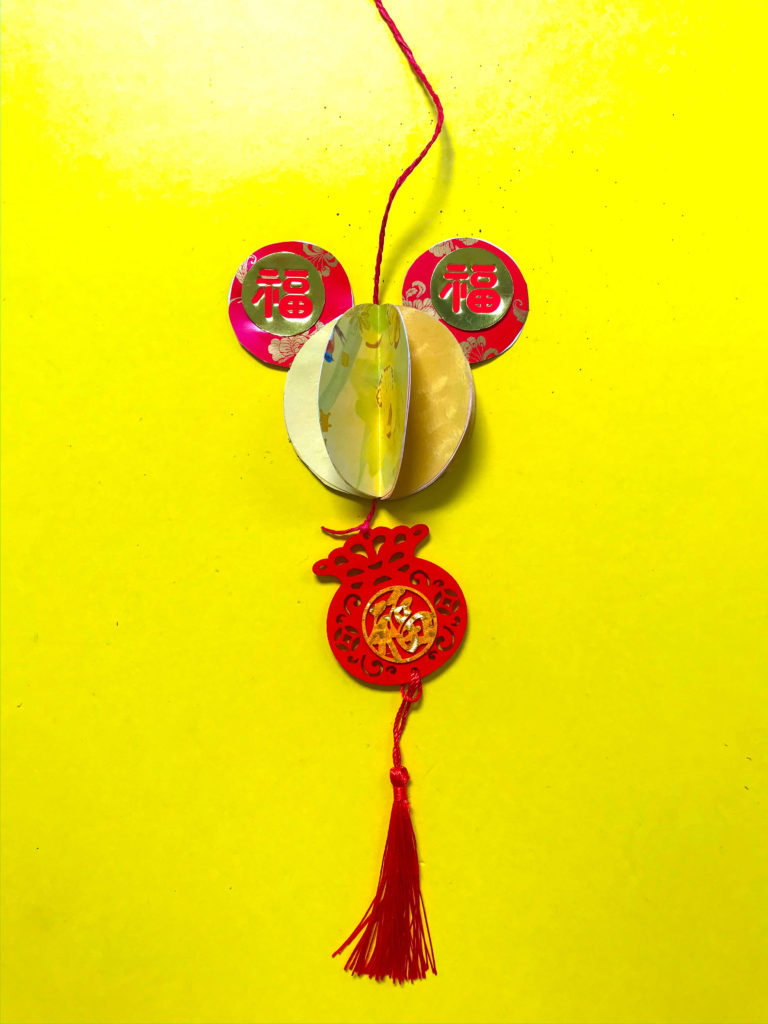
There you go, peepsqueak, your very own Mickey CNY DIY ornament! Have a prosperous new year, filled with delicious homemade snacks and meaningful conversations with relatives!
Tag us at @PositiveLeePeilin on Facebook or Instagram or use the hashtag #PositiveLeeDIY if you make this. We love seeing your creative interpretation of our crafts!
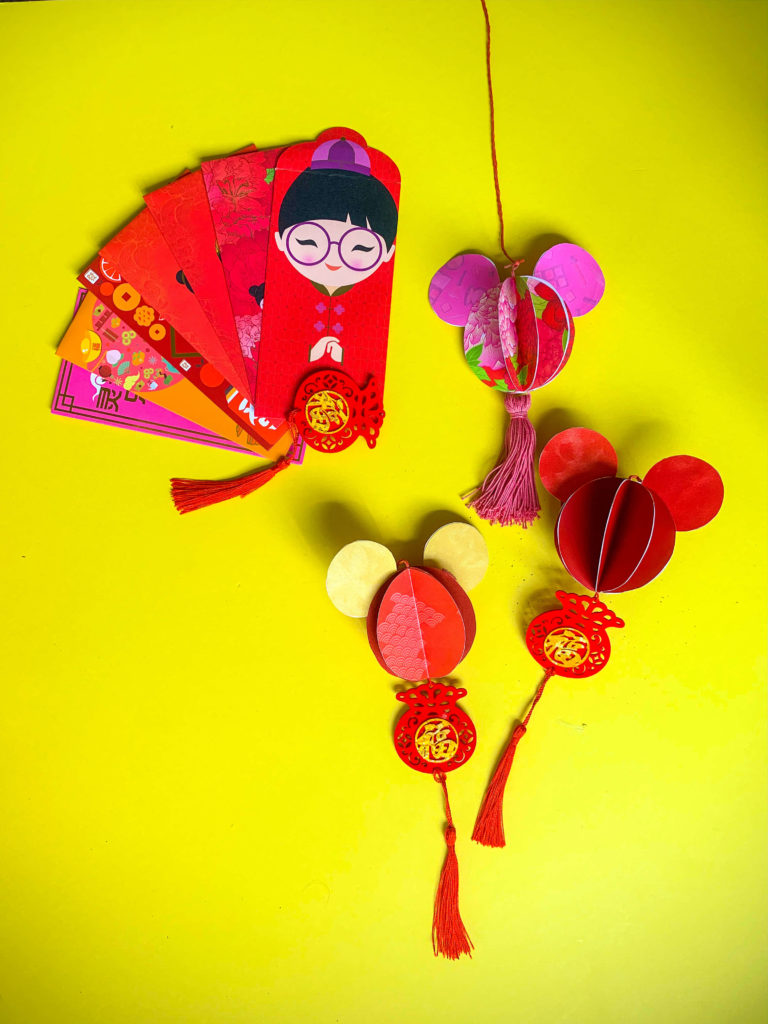
Bonus craft: Want to usher out the Year of the Pig? You can find our most favourite books about pigs, which is my zodiac sign!
Love all things Disney inspired? Check out our easy Olaf marshmallow recipe or The Lion King inspired loud hailer!

